Two and a half years ago, while the kids and I were living at my parent’s house, during the coldest week of that winter, all three kids became sick with a typical cold-fever combination. I kept them home from school and decided to make the most of it by using a substantial amount of my untested pins from Pinterest. We had a blast with science experiments, new recipes, and creating original art that was later framed and hung in their rooms.
We still have their artwork and Lady J and Bud were so excited to hang them in their rooms in our new home.
Lady J’s Family Art: Watercolor on Canvas
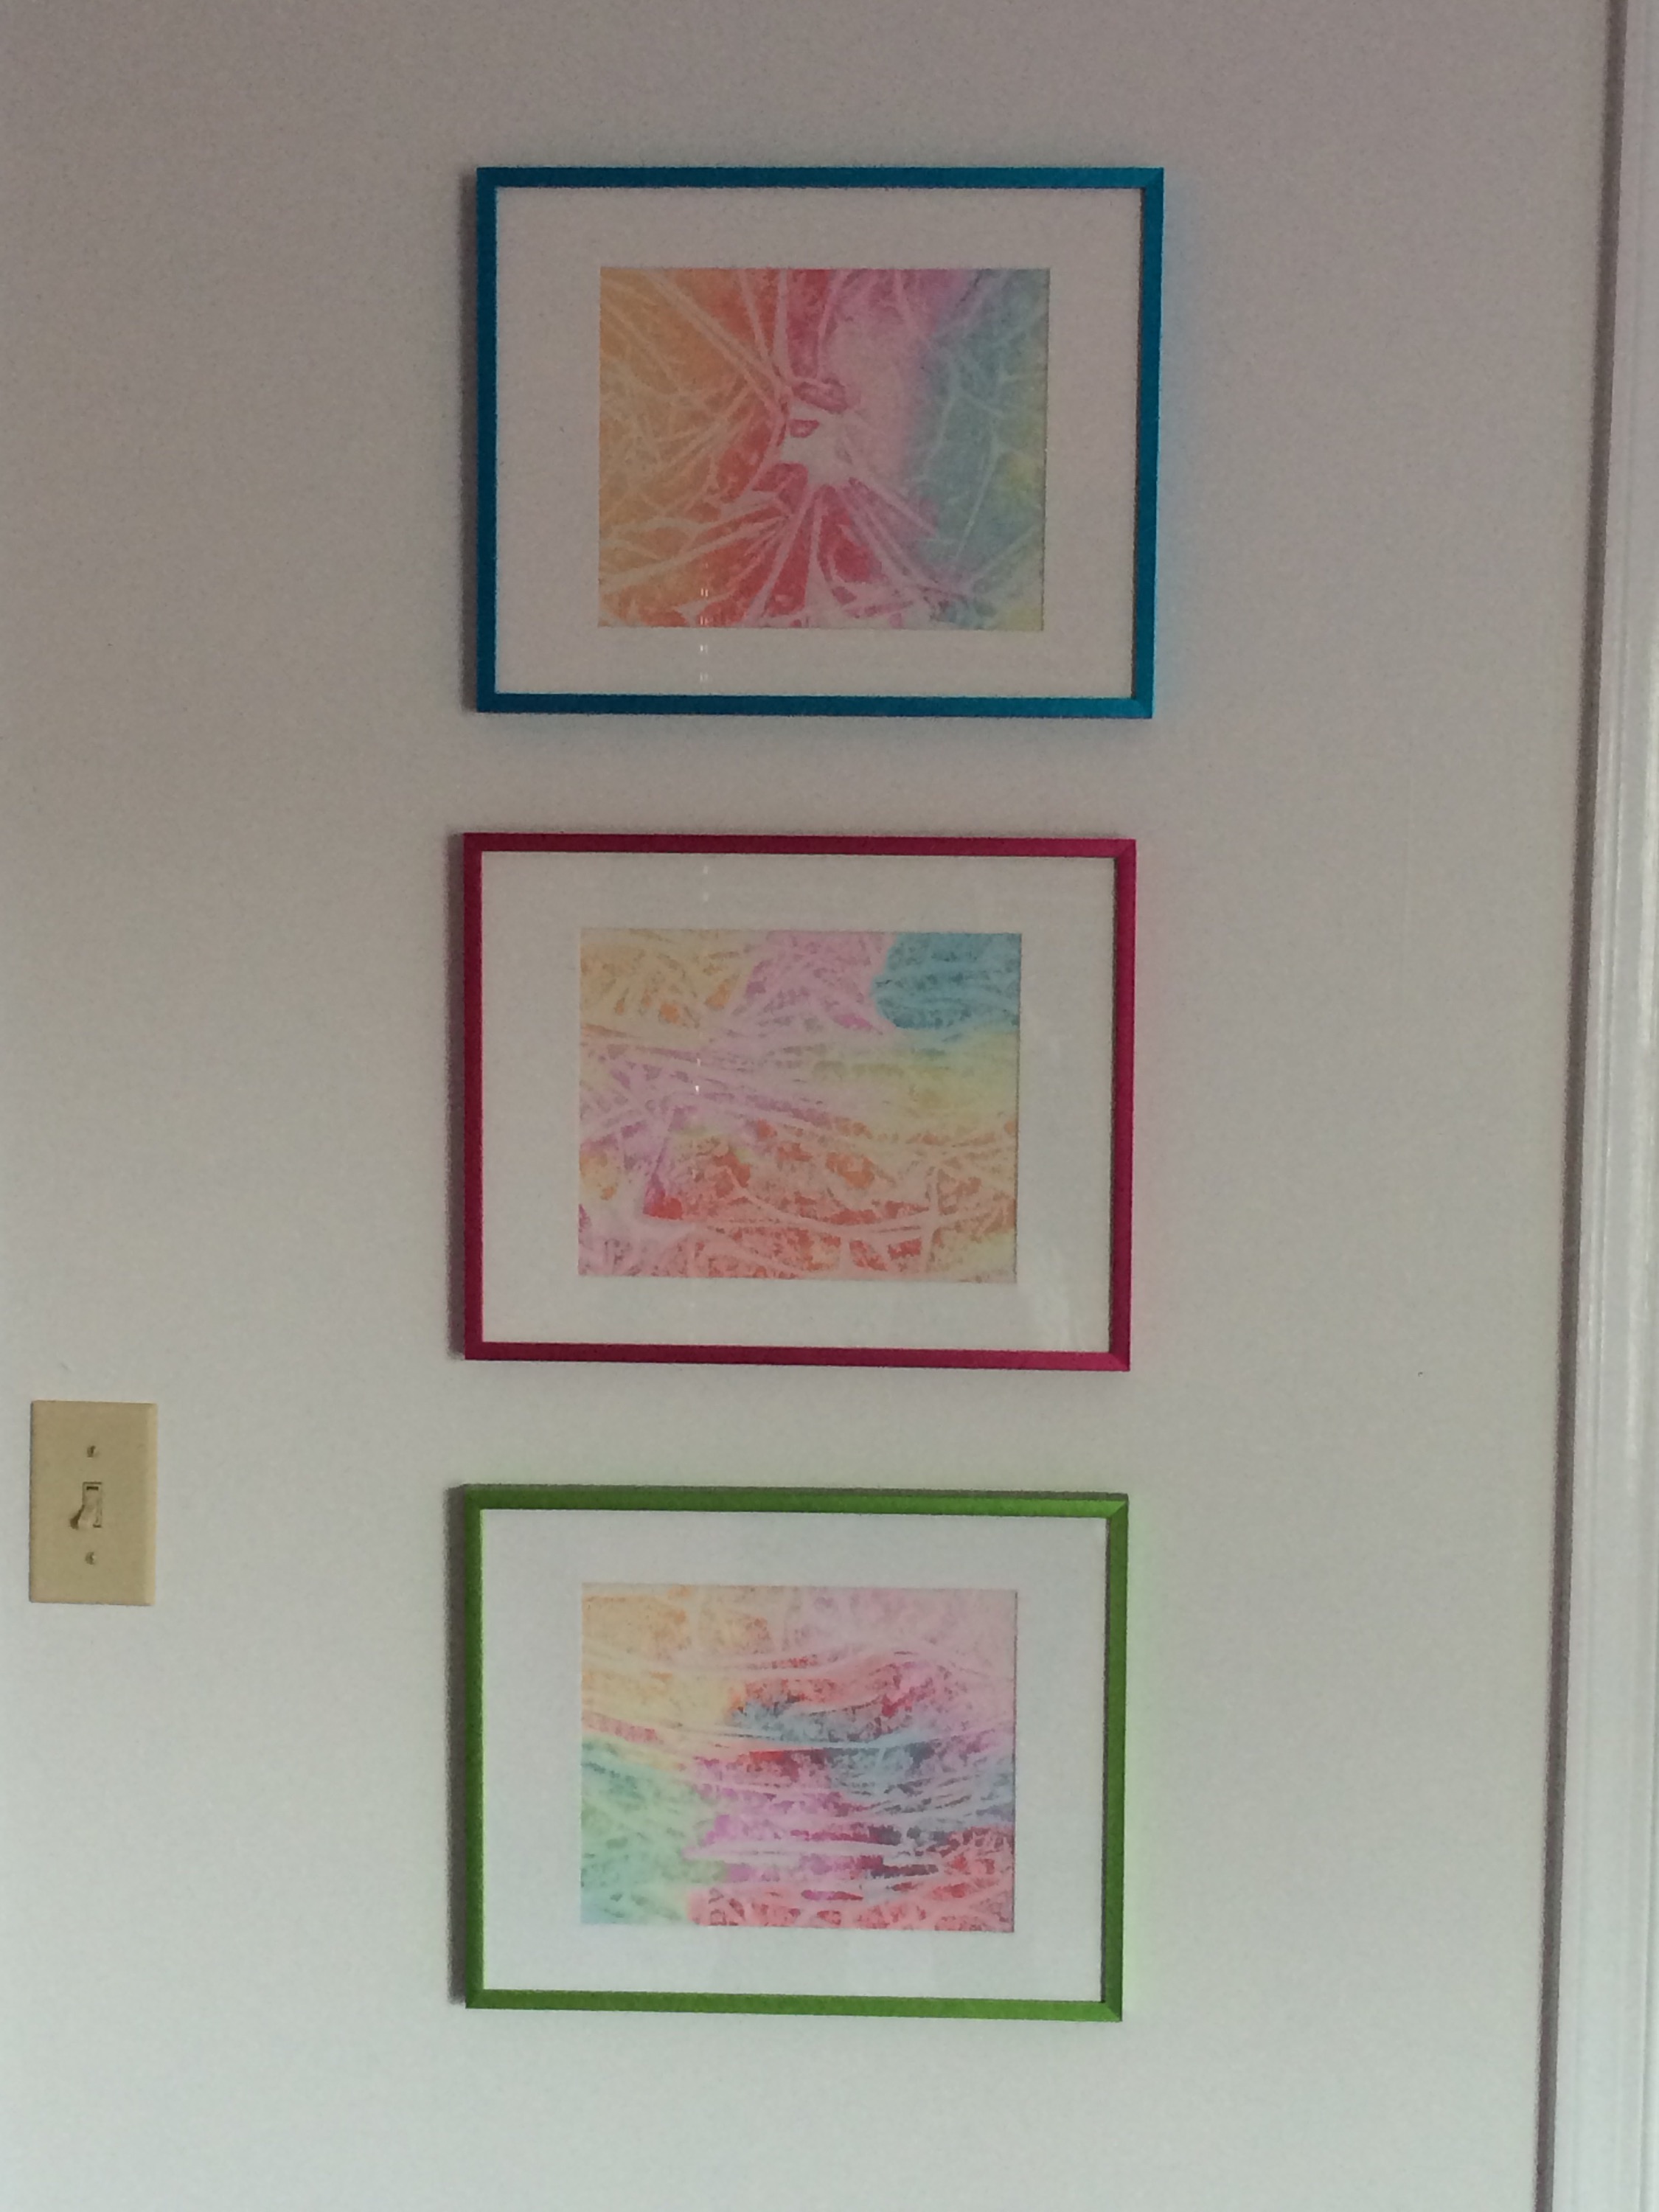
Drop watercolor pads in about 1/3 cup water and let dissolve. Schlop on the watercolor in no particular design and cover with ClingWrap. Allow a few days to dry. Remove wrap and voila!
Bud’s Family Art: Fingerprint Painting
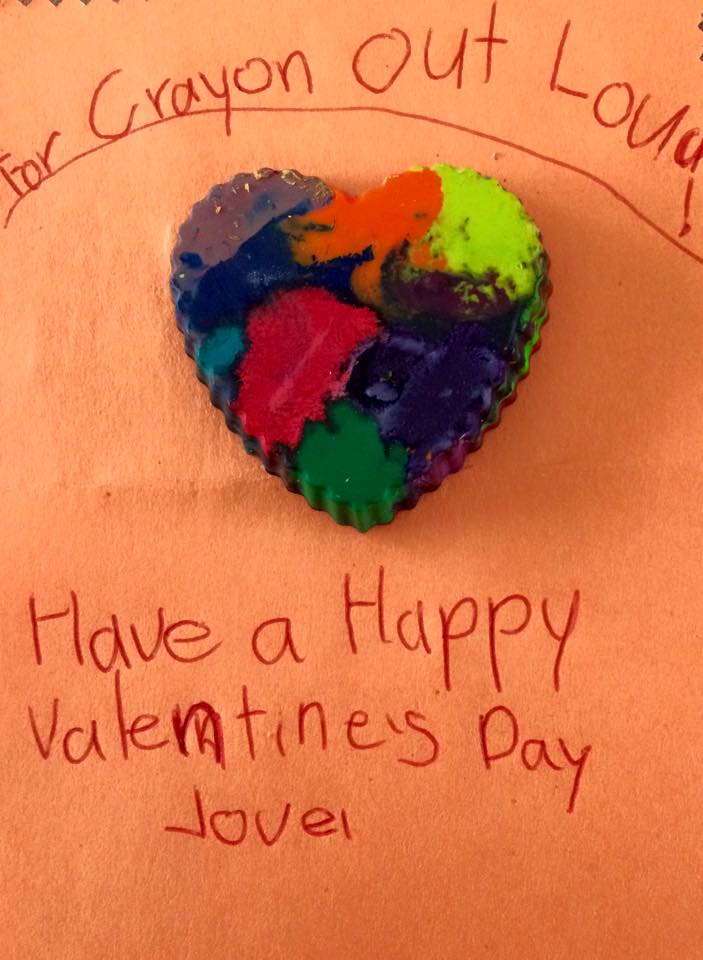
1) Home is Where the Heart Is

Use painter’s tape to make design on canvas. Using only fingertips, cover entire canvas with fingerprints. I used Crayola fingerprints and washable paints. This takes a few days because you may need to allow for drying time between coats. Once covered and dry, remove tape. Priceless!
2) From Philly, with Love
However, K-Mad was too young to participate in many of the activities and thus, did not (really) help with our original
art nor did we have any to hang in her room.
Of course, that had to change and I came across this fantastic idea for bubble art:
http://kidsactivitiesblog.com/572/bubble-art
So, we gave it a go and after a few attempts and tweaking the recipe, the art was a success! K-Mad is super excited to have “family art” hanging in her room!
Variation on a Pin: Bubble Art On Canvas

Materials: canvas, cups, straws, watercolor pads (I use Crayola watercolor and just pop out the colors I want), white vinegar, dish soap, tray to catch overflow

1)Drop watercolor pad into about 1/3 cup white vinegar and allow to dissolve 2) Add 1-2 tablespoons dish soap (I didn’t measure, I just squeezed)
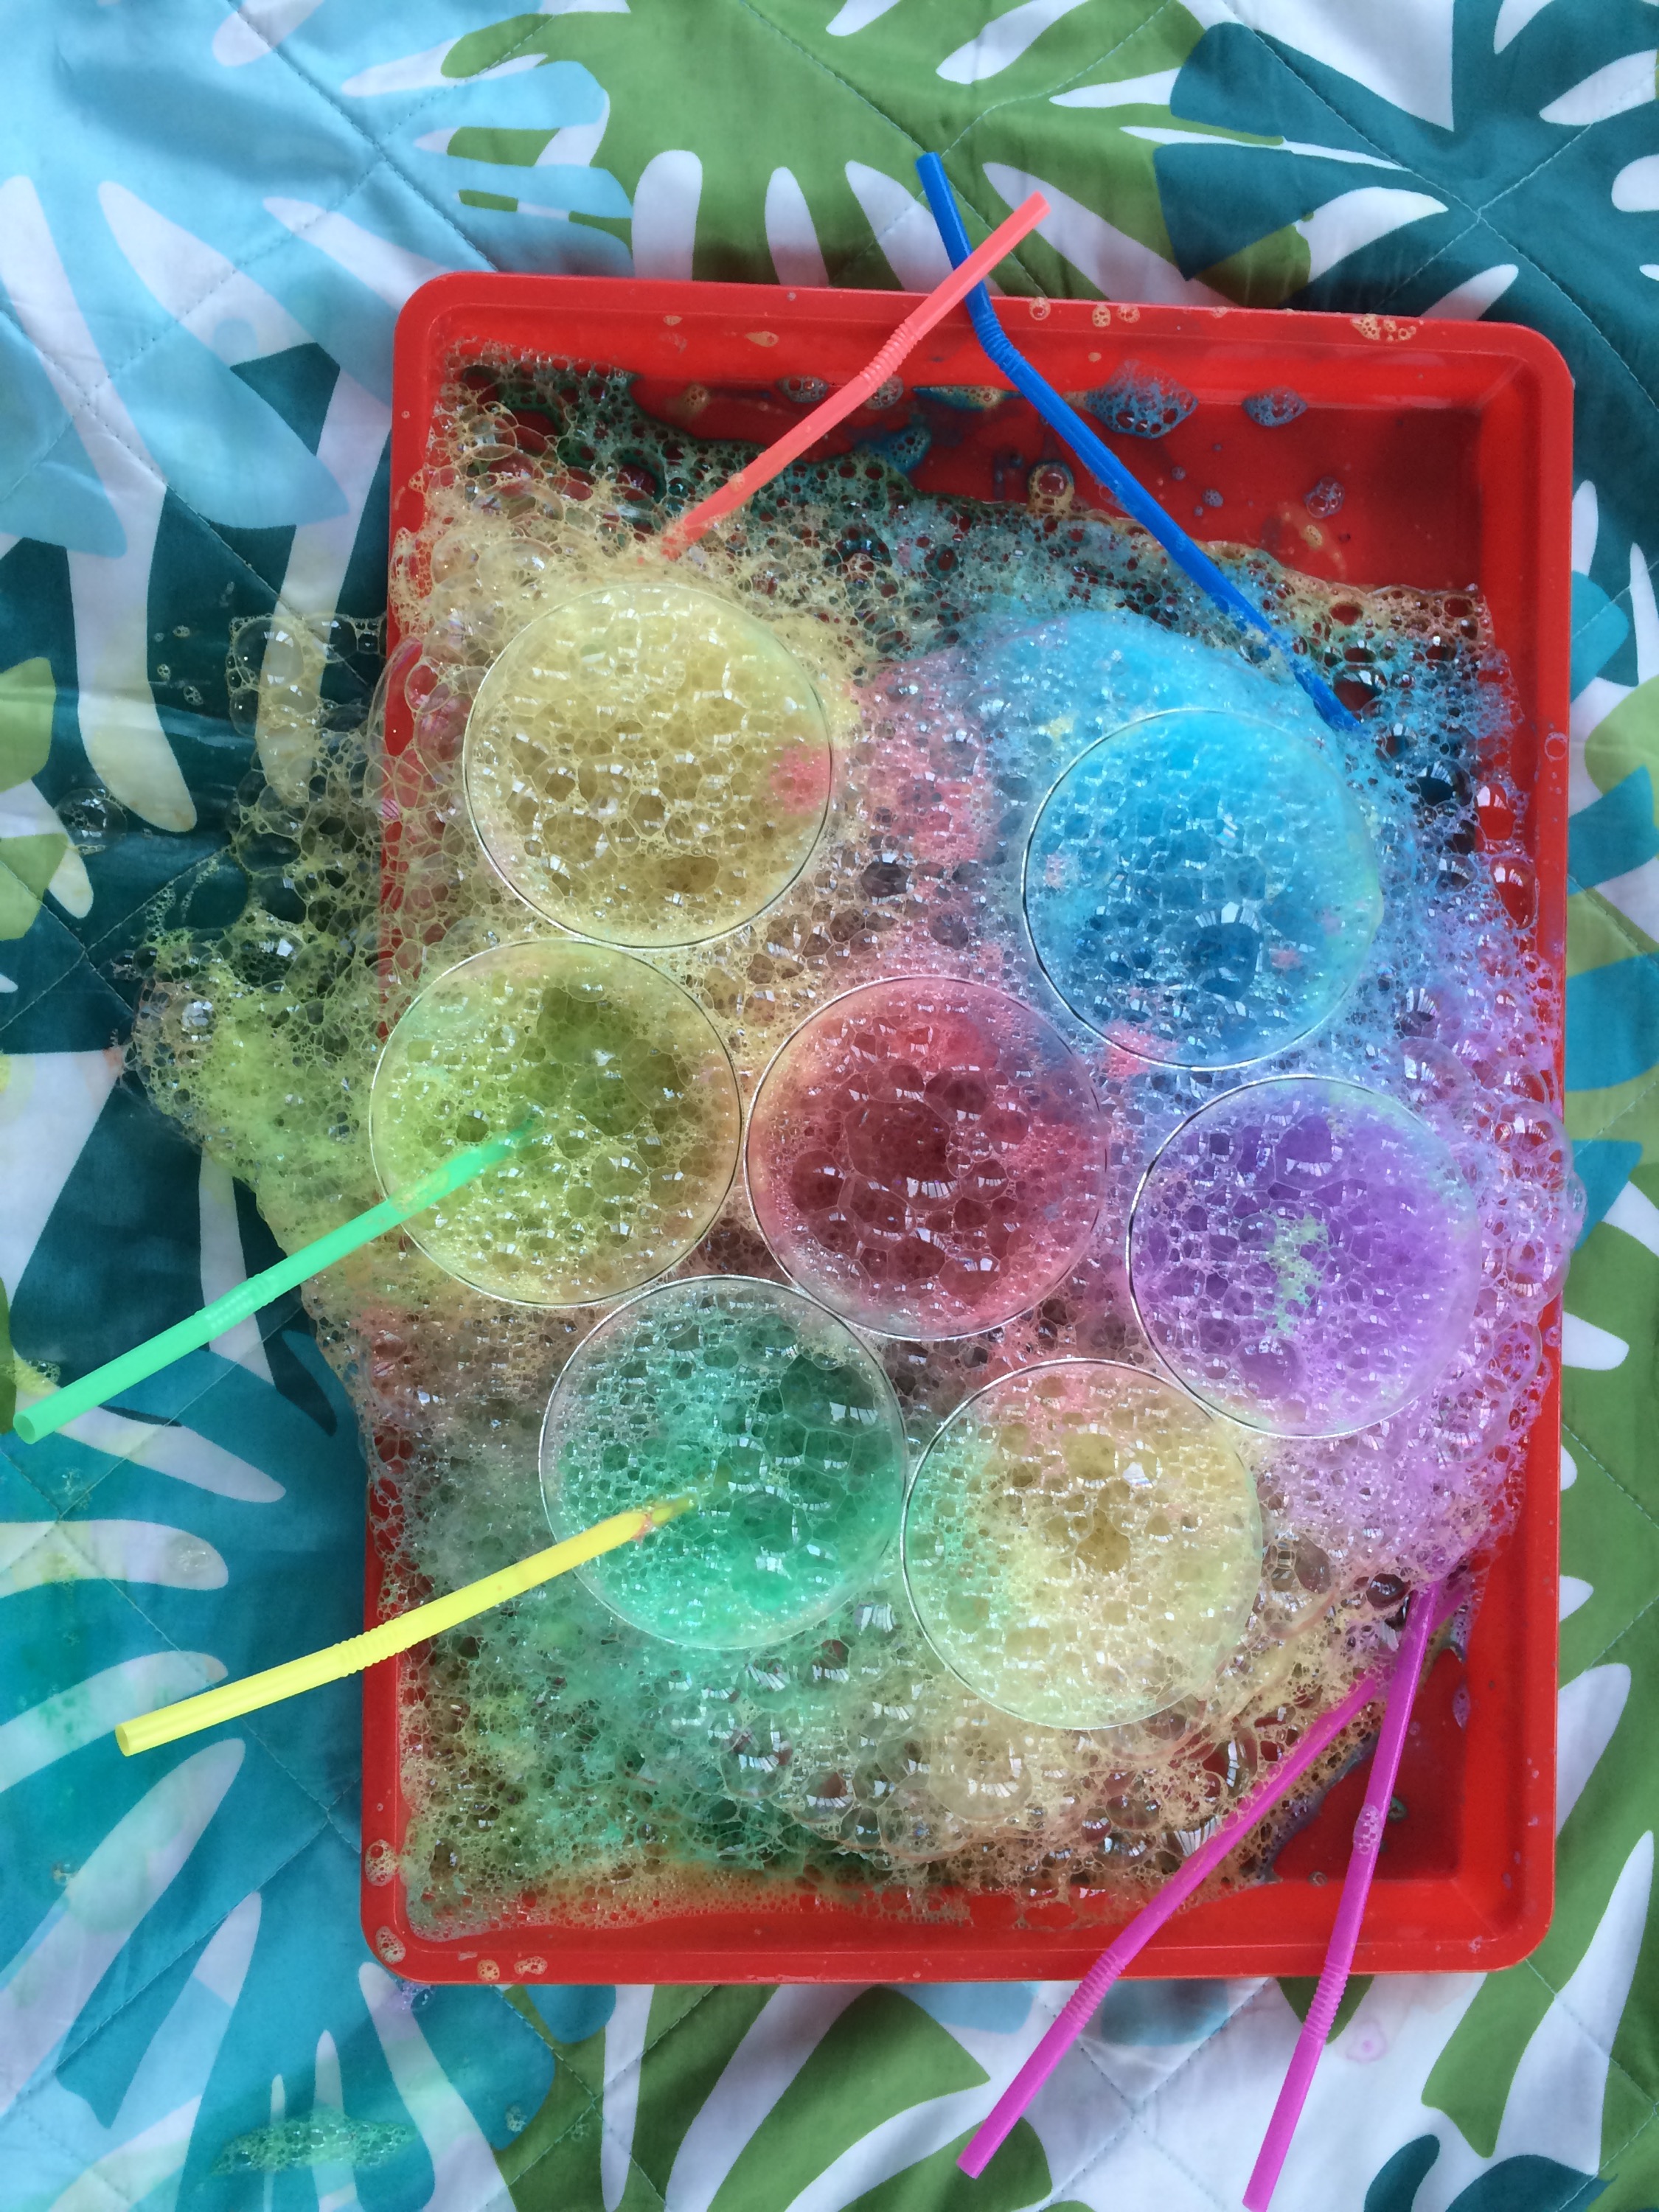
Warning: next part can get messy!!!!! (But full of smiles and giggles) 3) Blow bubbles so your cups runneth over (make sure your littles know to blow, not suck…seriously….and don’t be inappropriate…this is a children’s art project for goodness sake) 4) Remove straws and place canvas on cup 5) Repeat steps 3 & 4 a few times if needed.
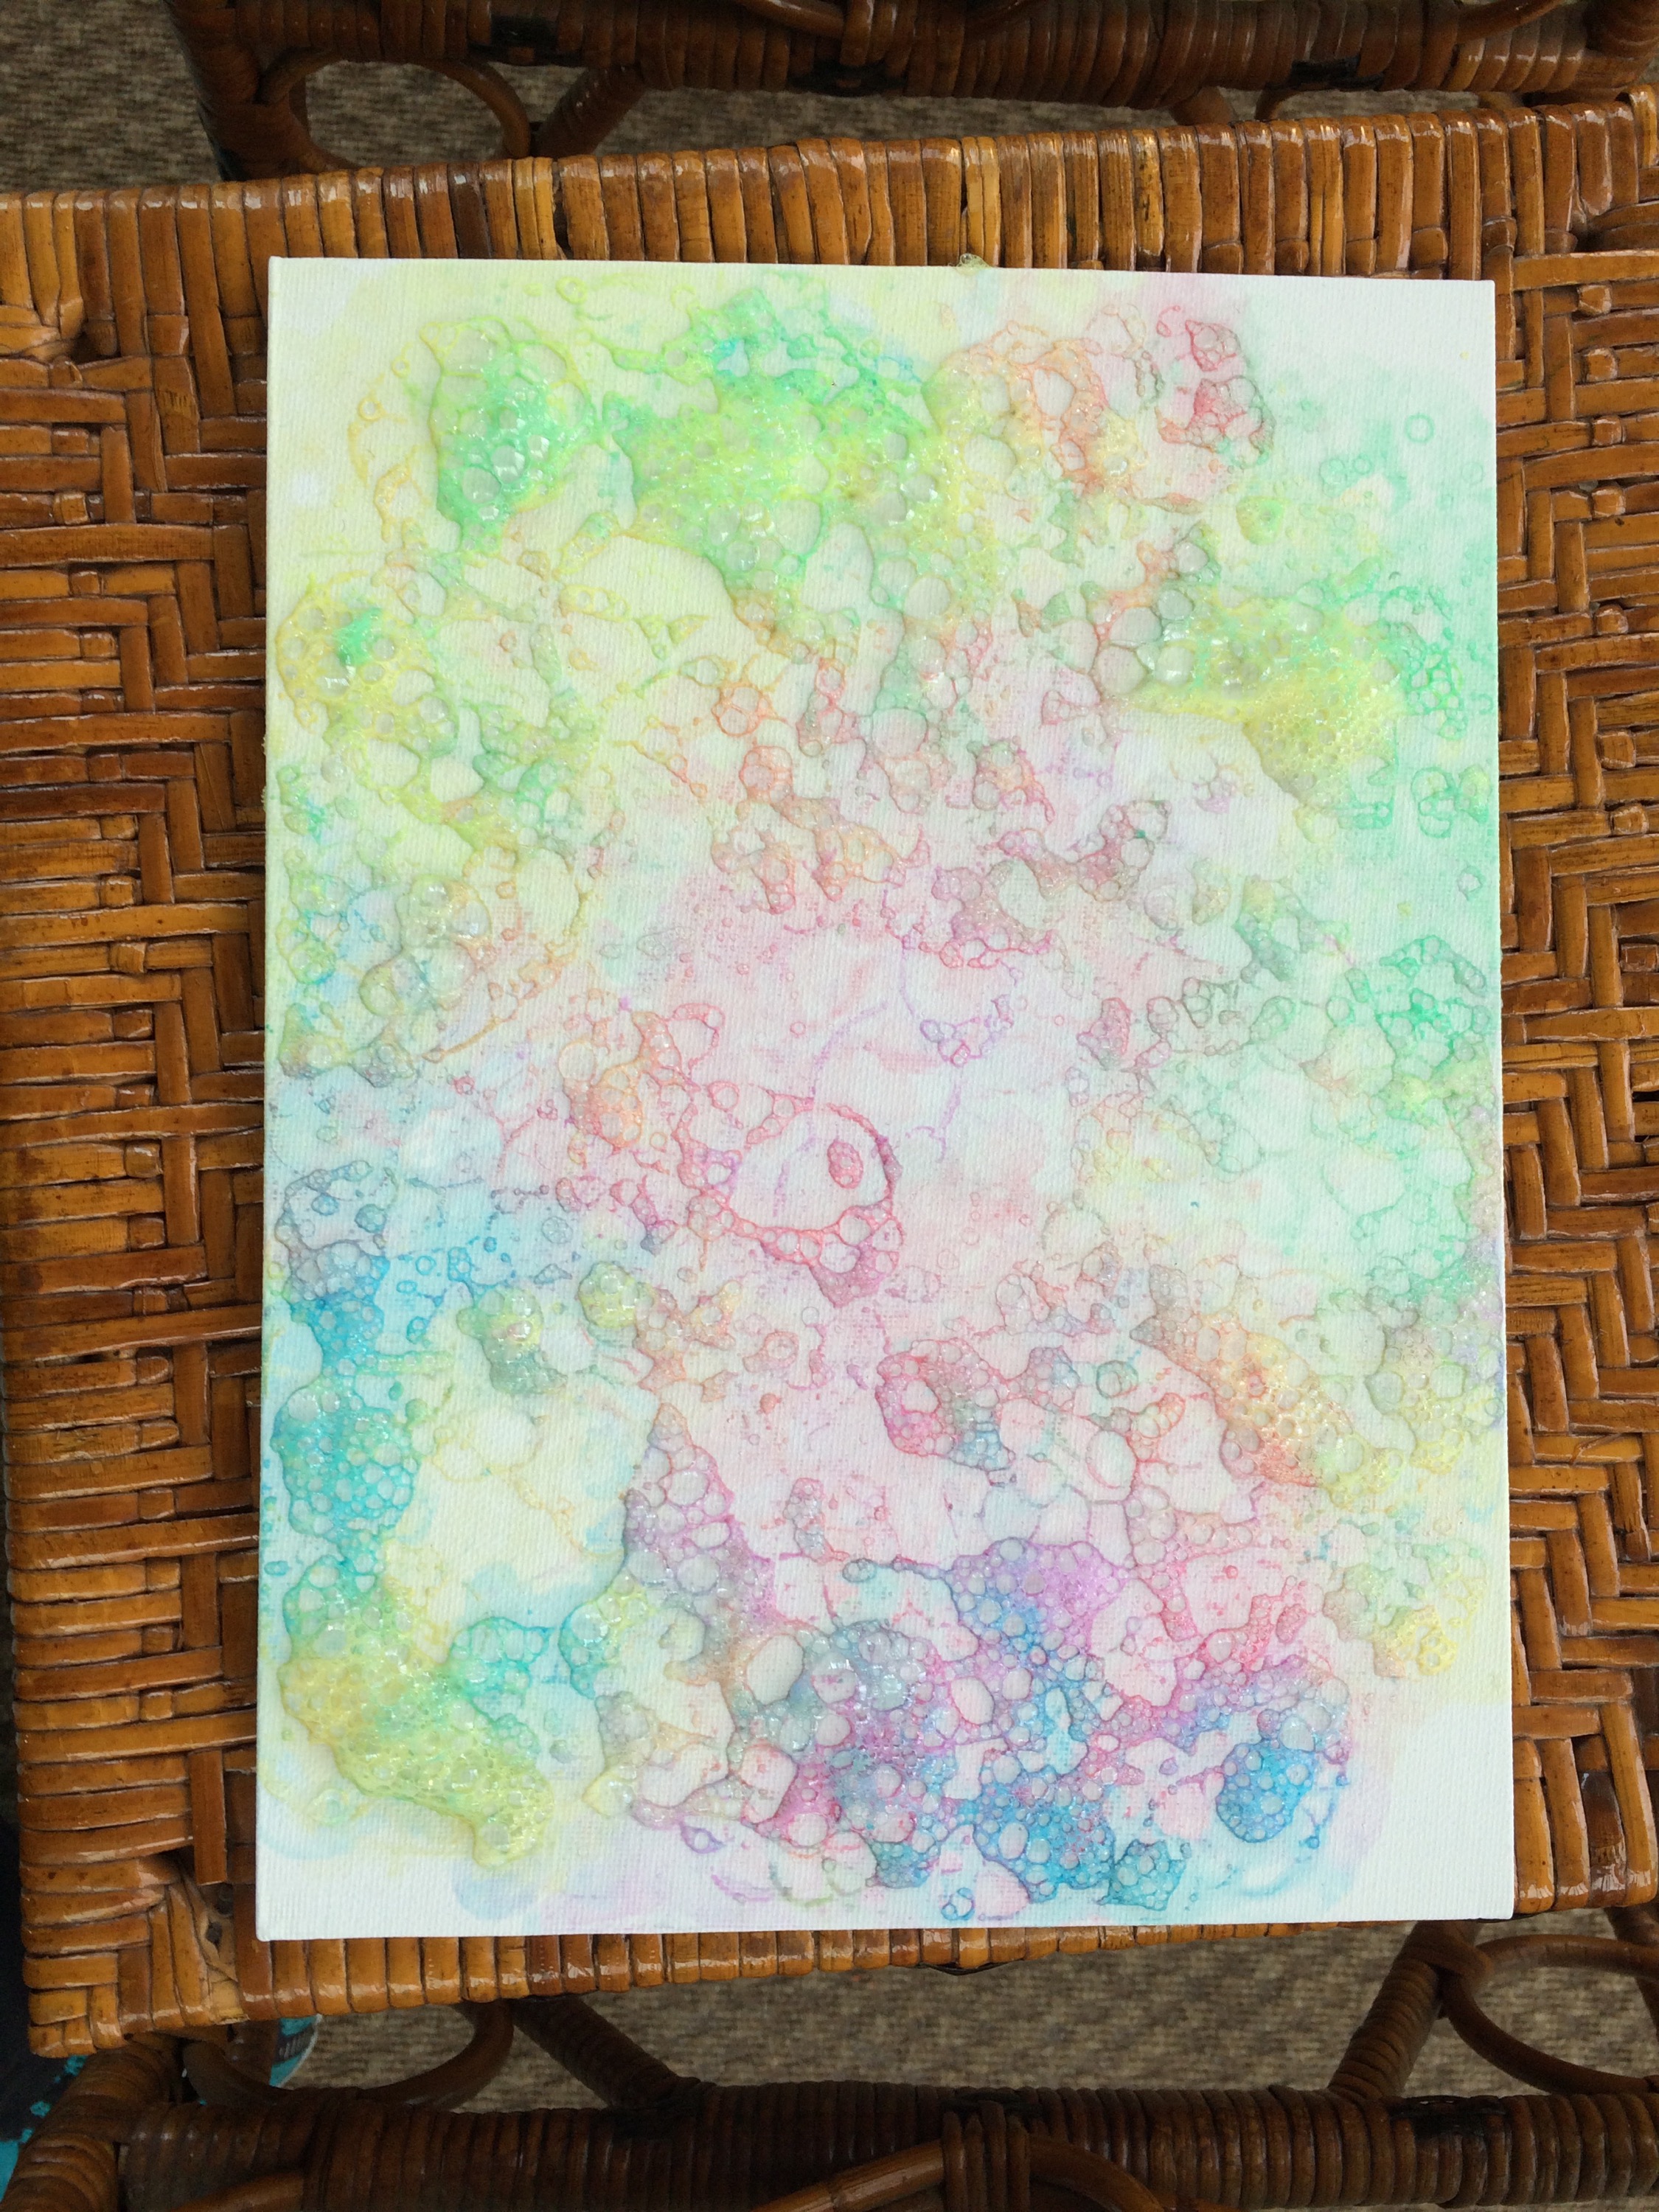
6) Allow time to dry before framing. (Bubbles will pop and shrink…just be patient!!!!!)
Please comment below or email me with any questions about this project, or for more ideas on art & science projects we had fun with!